With the rise of ad-blockers and the deprecations of 3rd party cookies, the Facebook Pixel is becoming less and less reliable. To combat this problem, Facebook released a Conversion API in 2021. So, Facebook introduced Facebook CAPI to assist marketers with another way to send these valuable conversion events to Facebook.
Setting up and sending conversion events to Facebook CAPI can be challenging. This blog post will show you three ways to set up and send data to Facebook CAPI.
Set up with Hightouch
Hightouch is a Composable CDP that lets you sync data from your warehouse to over 250+ destinations destinations, including Facebook CAPI. Rather than managing an API integration yourself, Hightouch manages all the complexity, so you only have to define what data you want to send to Facebook CAPI.
Prerequisites
To be able to use Hightouch, you need to be storing conversions as transactions in a data table (e.g., Purchases or Subscriptions.), and you need to be using a data warehouse as your source of truth for customer, event, and transaction data.
Step 1: Connect Your Data Source
-
Create your data source.

-
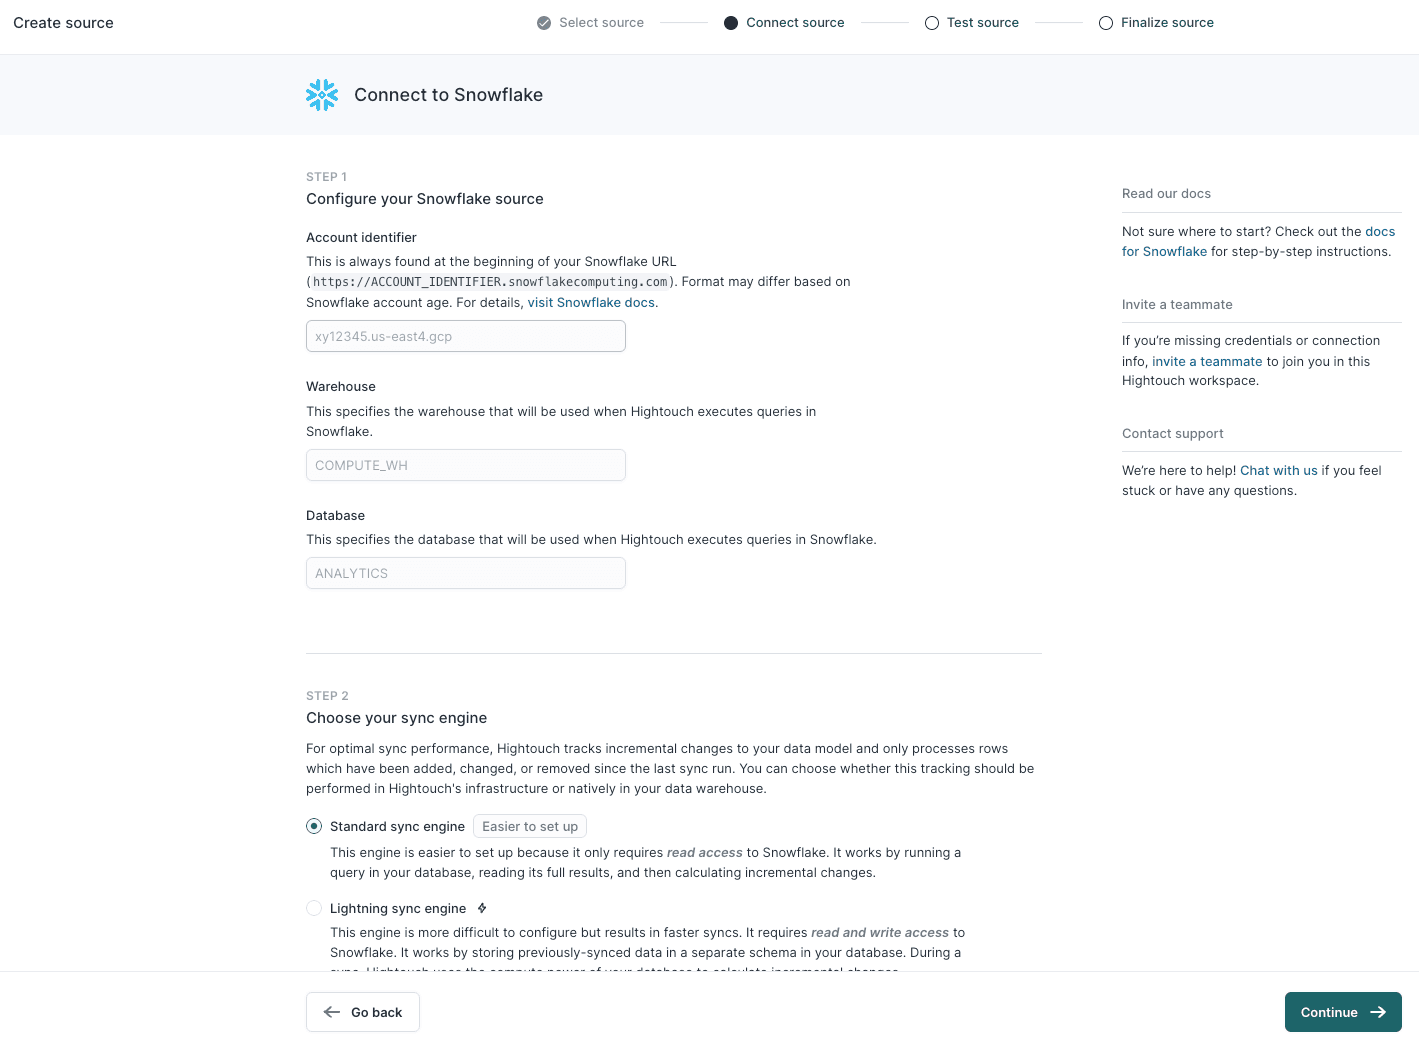
Configure your data source.
-
Finalize settings for this source and click Finish.

Step 2: Create Your Model
-
Go to the Models overview page and click Add model.

-
Select the source you connected and choose a modeling method. Since all of your information should be joined in one table, you can use the visual table selector to define it. Alternatively, you can write SQL to include only the columns you want or rely on your existing dbt models or Looker Looks.

-
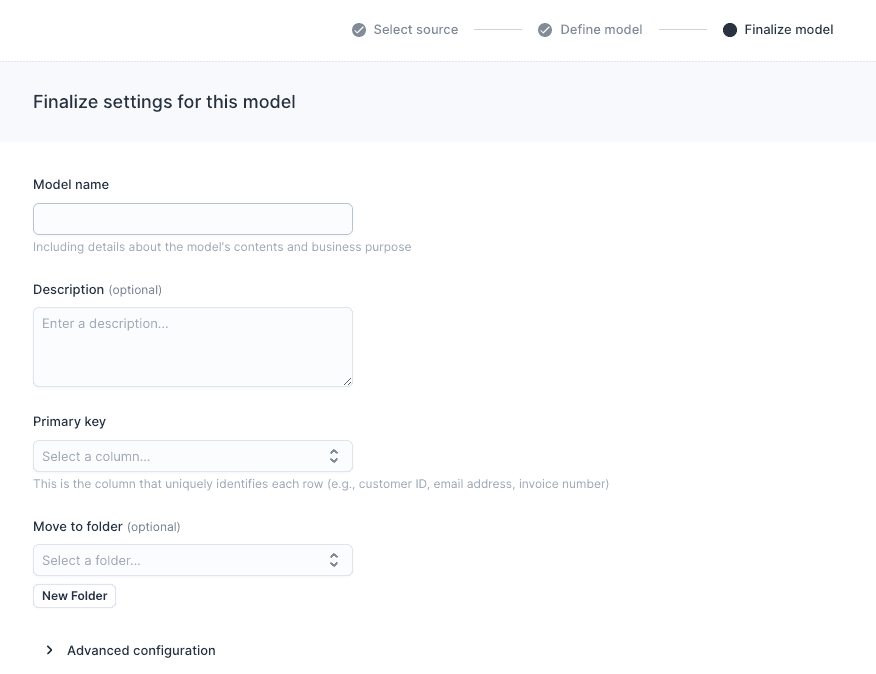
Before continuing, you must preview your model to ensure it's querying the data you're interested in. By default, Hightouch limits the preview to the first 100 records. Once you've validated your data, click Continue and give your model a name. You also need to select a primary key that is truly unique. Once done, click Finish.
Step 3: Create Your Facebook CAPI Destination
-
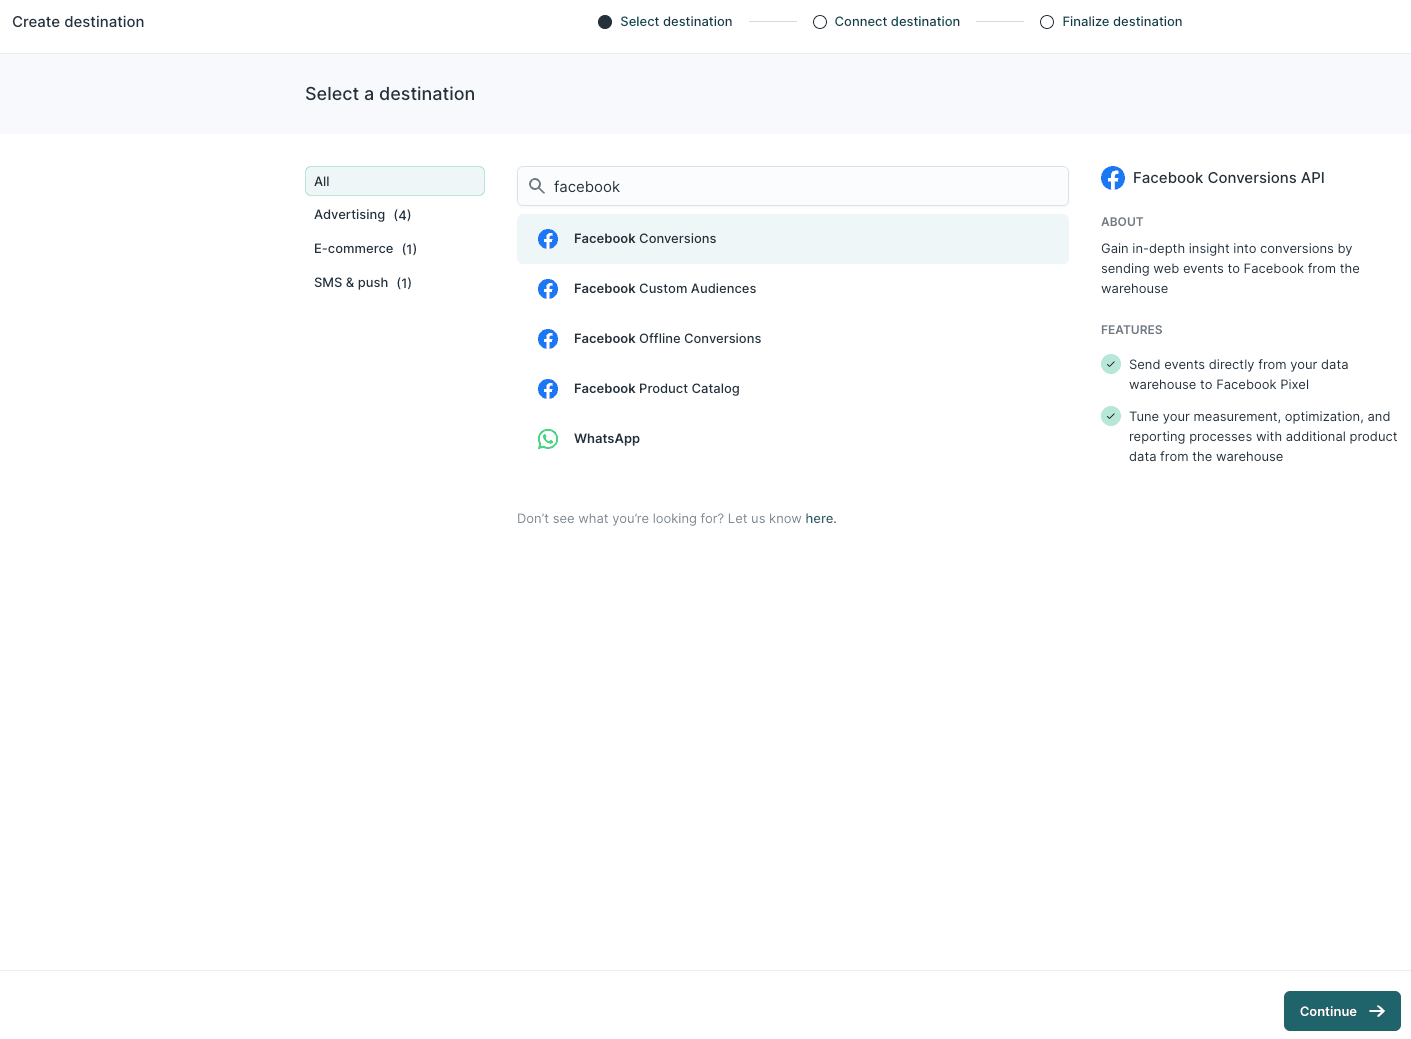
Navigate to destinations and click Add Destination. Select Facebook Conversions and click Continue.
-
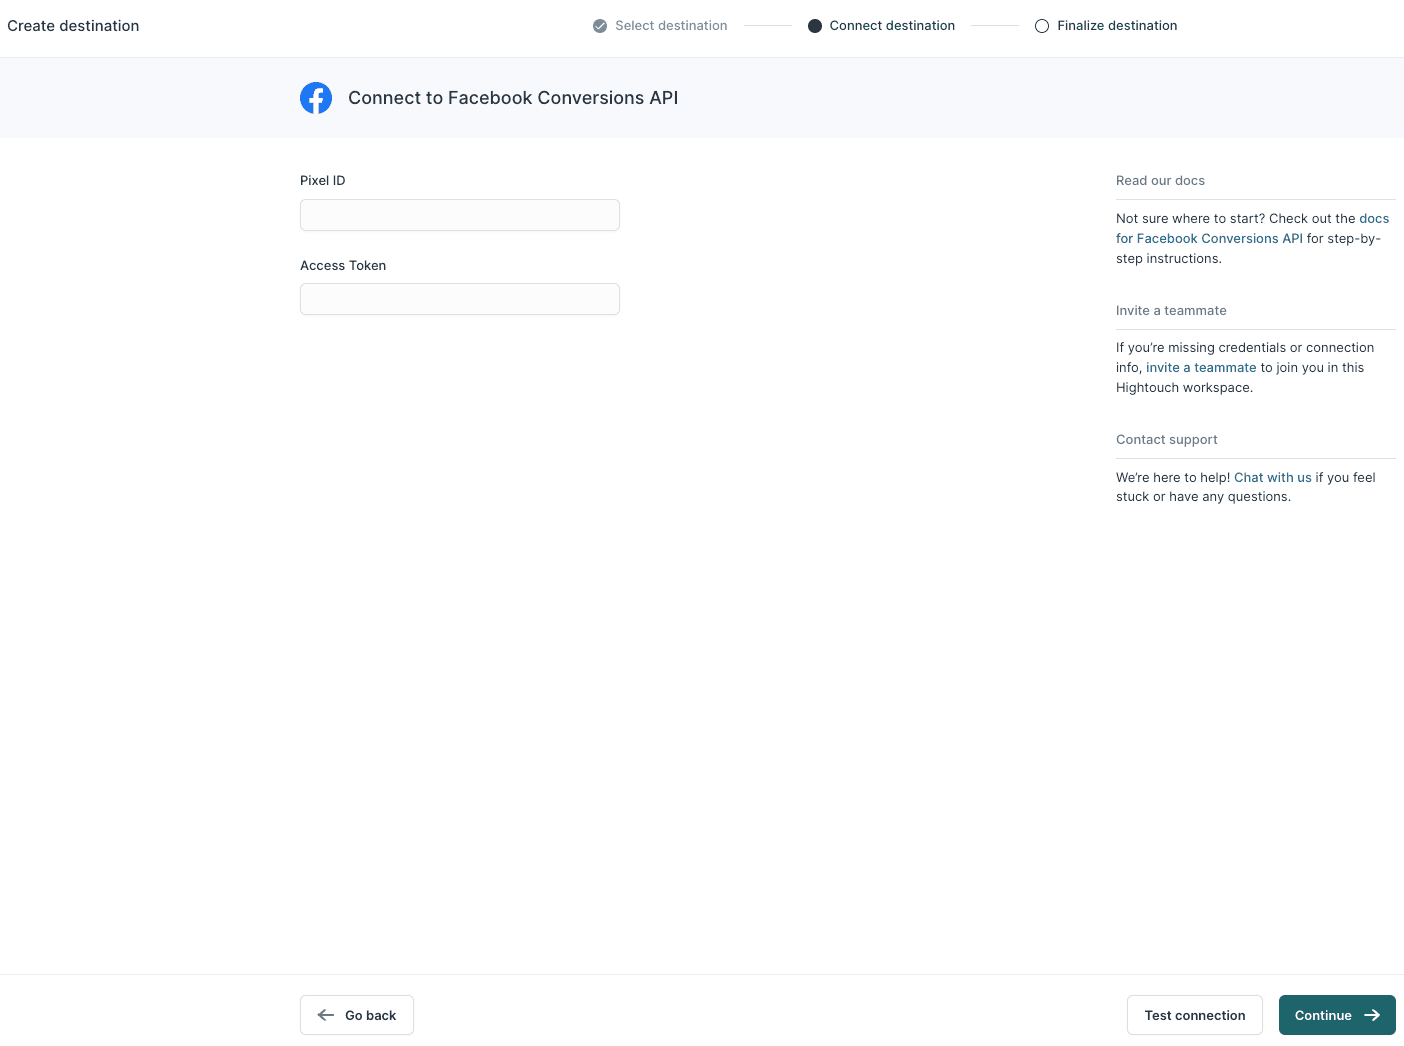
Enter your Pixel ID and access token (more info here) and click Continue.
-
Finalize settings for this destination and click Finish.

Step 4: Create Your Sync
-
Go to the Syncs overview page and click Add sync.

-
Select the model you previously created for this purpose.

-
Select the Facebook Conversions API you previously created.

-
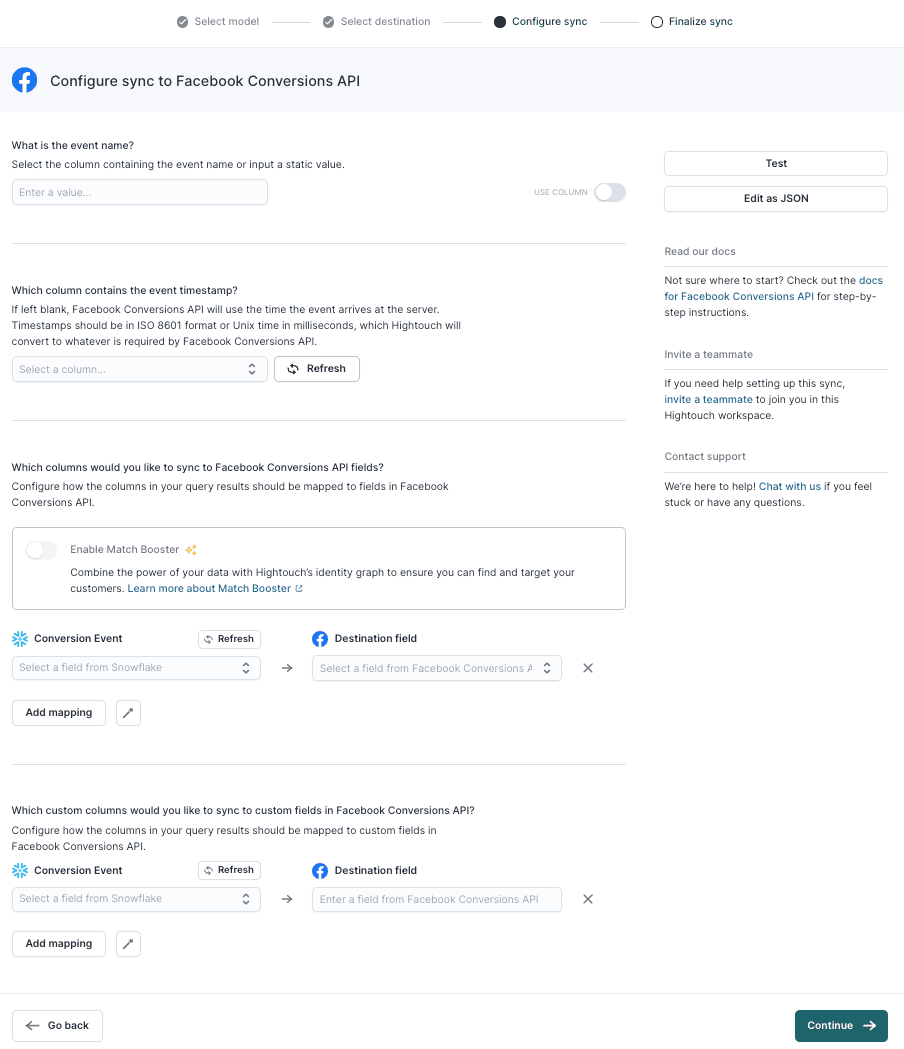
Configure how to sync conversion data to your destination and click Continue.
-
Set a schedule for your sync. This depends on your event volume, but Facebook recommends sending events within an hour of occurring. Therefore, set a schedule that occurs at least hourly.

-
Click Finish. Once you've finished configuring a sync, you land on that sync's overview page. This page shows previous sync runs and lets you edit the configuration, schedule, and set up alerts. It's also home to the Live Debugger, which helps you understand previous runs down to the API request and response level.
Set up Manually
Facebook allows you to manually set up Facebook CAPI through their Events Manager. This option doesn’t cost anything but can take up to a month to implement, depending on the events you want to send and how many engineering resources you have.
-
Log in to your Facebook Business account and select Events Manager.

-
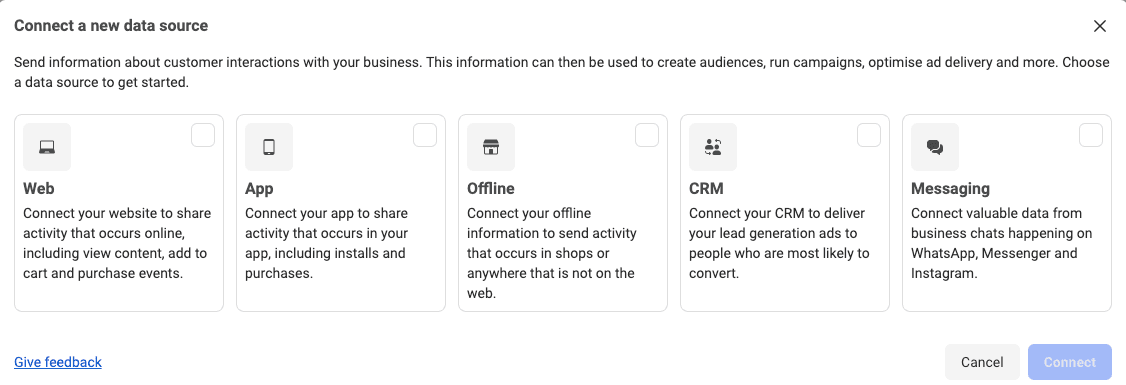
Connect a data source.
-
Create a new dataset and name it.

-
Select Set up manually.

-
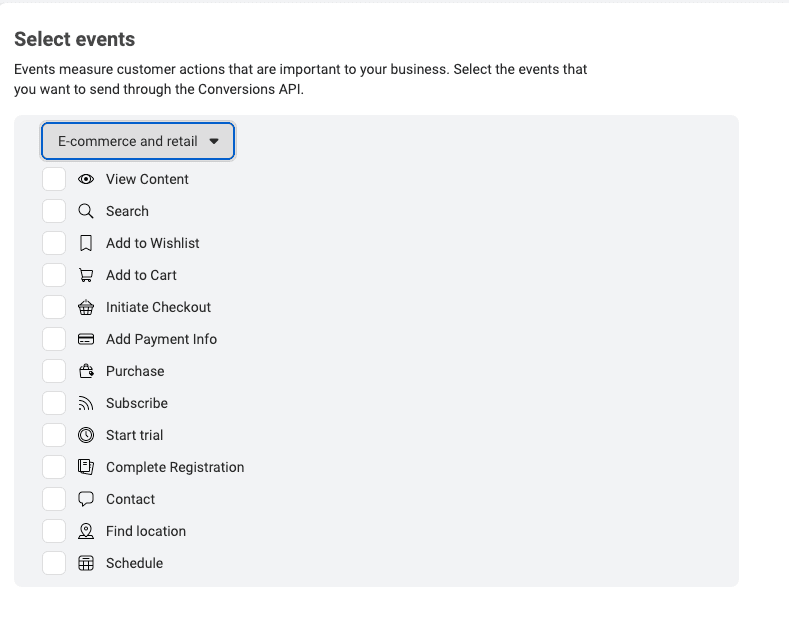
Select the events you want to send via the Conversion API.
-
Select additional parameters you wish to send with each event.

-
Review your setup.

-
Send to your developer or view instructions to implement API.

Set up with Partner Integration
The partner portal is another method you can set up Facebook CAPI. This option is much easier because third-party companies collaborate with Facebook, so no coding is usually required. The only problem is that there are limited partner integrations, so if you have a bespoke site, you might be unable to use this option.
-
Log in to your Facebook Business account and select Events Manager.

-
Connect a data source.

-
Create a new dataset and name it.

-
Add your website if you have one to see if partner integration is possible.

-
Select Setup Conversion API with a partner.

-
Choose the relevant partner.

-
Select your pixel.

-
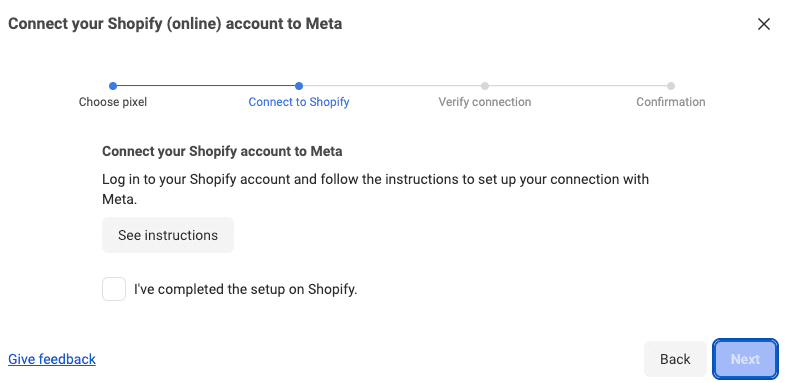
Follow the instructions to connect with your partner.
-
Verify connection.

Conversions You Can Track with Facebook CAPI
The key to Facebook CAPI is collecting the right event data, especially considering your business goal. However, if you need inspiration for a key conversion goal, here are the conversions that can be tracked with Conversion API.
- Add Payment Info
- Add to Cart
- Add to Wishlist
- Complete Registration
- Contact
- Customize Product
- Donate
- Find Location
- Initiate checkout
- Lead
- Purchase
- Schedule
- Search
- Start Trial
- Submit Application
- Subscribe
- View Content
Closing Thoughts
To maximize the impact of Facebook CAPI on your ad campaigns, you need to send all of your customer data to Facebook. Enriching your conversion events with 1st-party data from your warehouse will not only help with attribution, but also increase match rates to optimize performance and increase return on ad spend (ROAS). If you’re looking for an easy and reliable way to sync data to Facebook CAPI, then book a demo with one of our solution engineers to learn more.


